Can Seam Inspection Equipment by

Longueville, Pound Lane, Smeeth, Ashford, Kent. TN25 6RJ. England
Tel: +44 (0)1303 813200 Mobile 07776 251493 E-mail: stevegoble@arundle-optical-instruments.com
Aerosol Can Microseam 5 Standard High definition (HD) can seam inspection system with New feature. Structured Query Language database file.
Aerosol can Microseam 5 standard is Arundle Optical Instruments next evolution in the Microseam range provides an effective low cost alternative to an optical projection system, with the added advantages of a high quality digital image and the retention of raw data .
Viewing head is a compact, easy clean stainless steel clad unit utilizing a USB 2 High definition digital camera with integrated Deskey for added security.
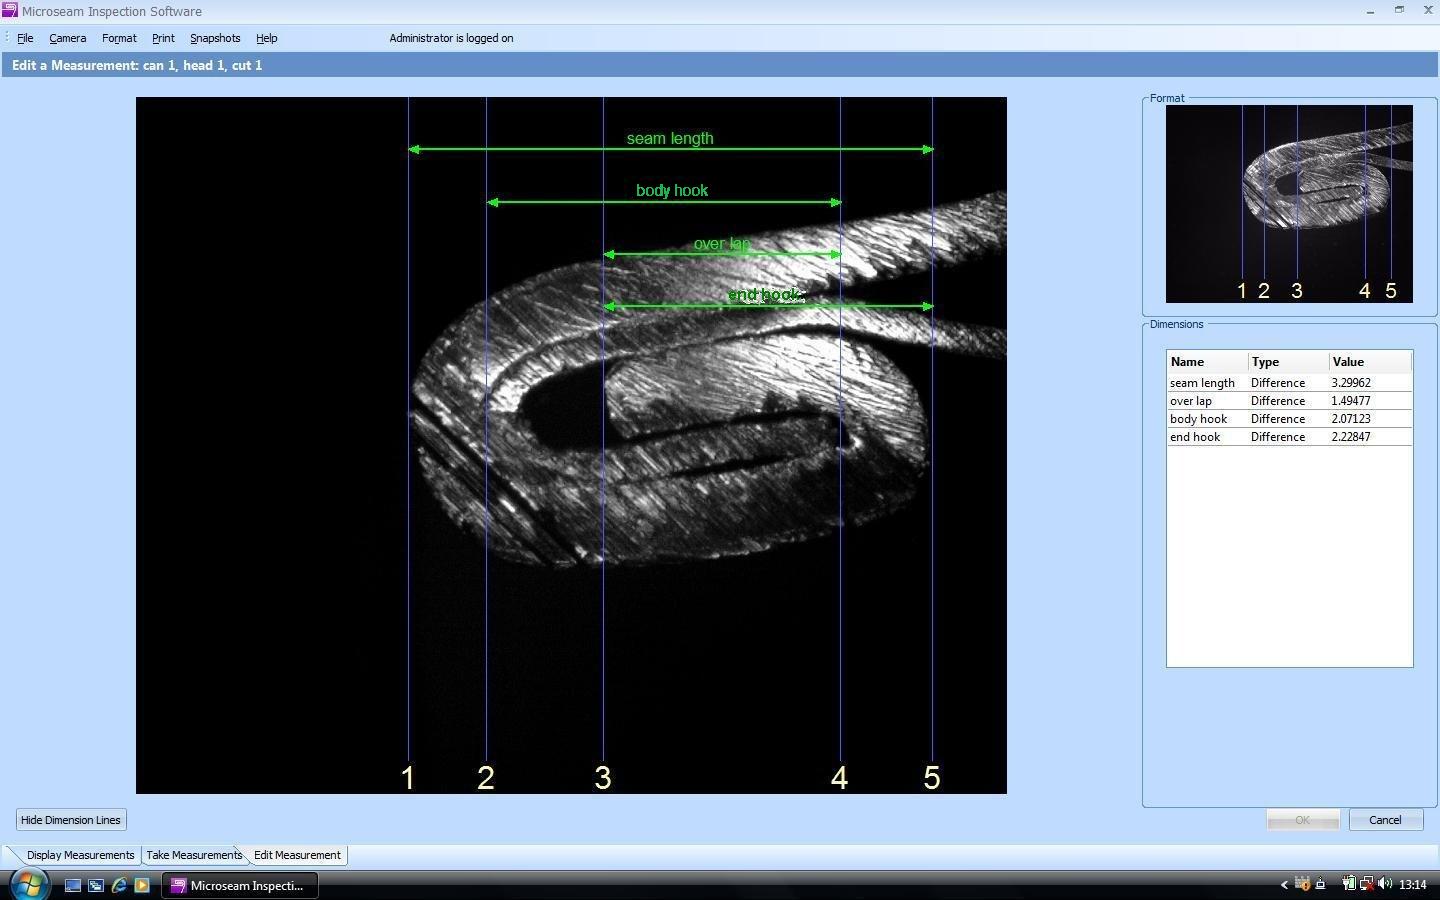
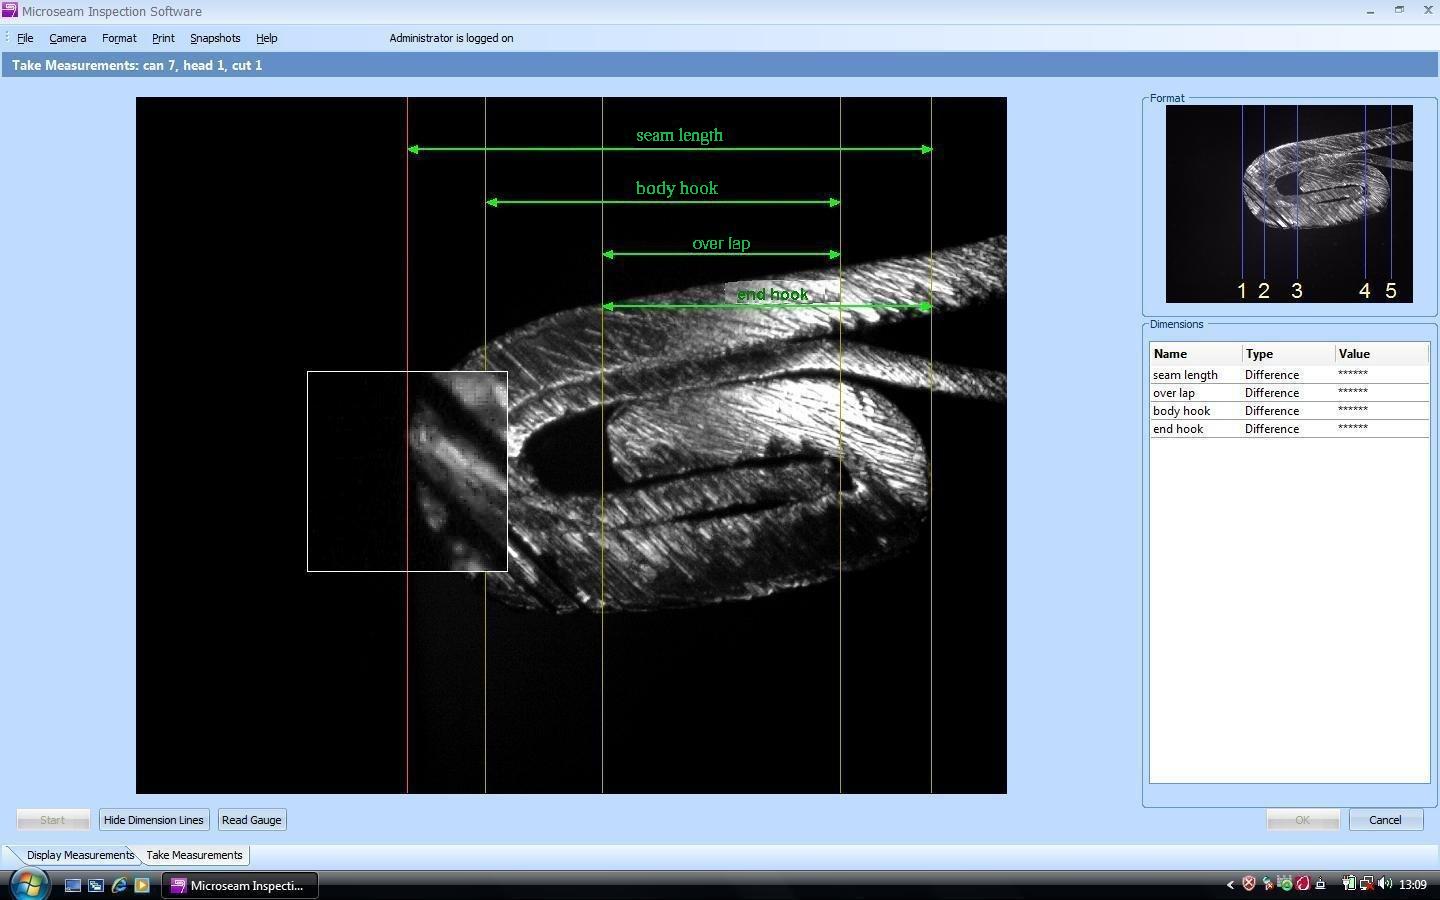
The camera takes an optically magnified snapshot, measuring lines are then positioned onto this image to be measured.
User friendly software has been developed to be Windows XP, Vista, Windows 7, Windows 8 or 8.1 andWindows 10 compliant with networking capability, requires minimal operator training with the software doing all the calculations.
Leading edge locating adaptive algorithm.
Virtual control panel allows the operator to adjust the camera for optimal image quality.
Bitmap graphical display with measuring points indicated to assist familiarization of new operatives.
Data files are
configured using a simple set up, allowing difference, optional gauge
measurements, key
board and formula inputs.
Formula's for tear down procedure included in set up, so that parallel inspection can take place on data base.
Technical support available remotely, reducing any service costs.
Latest software allways available free of charge download.
New feature. Edit in the program configuration dialogue box allows datafile storage to be selected between "DAT" files or "SQlite".
SQLite
database for immediate data acquisition by third party
applications using an ODBC database connection for virtual real
time availability of the measured data.

Microseam 5 Standard
allows you to......
Define
the seam dimensions you require to measure.
Define
the measurements required to achieve those dimensions.
Define
the calculations to be applied to achieve those measurements.
Input
from optional digital gauges with RS
232 output
.

Microseam 5 standard
has...............
Measurements
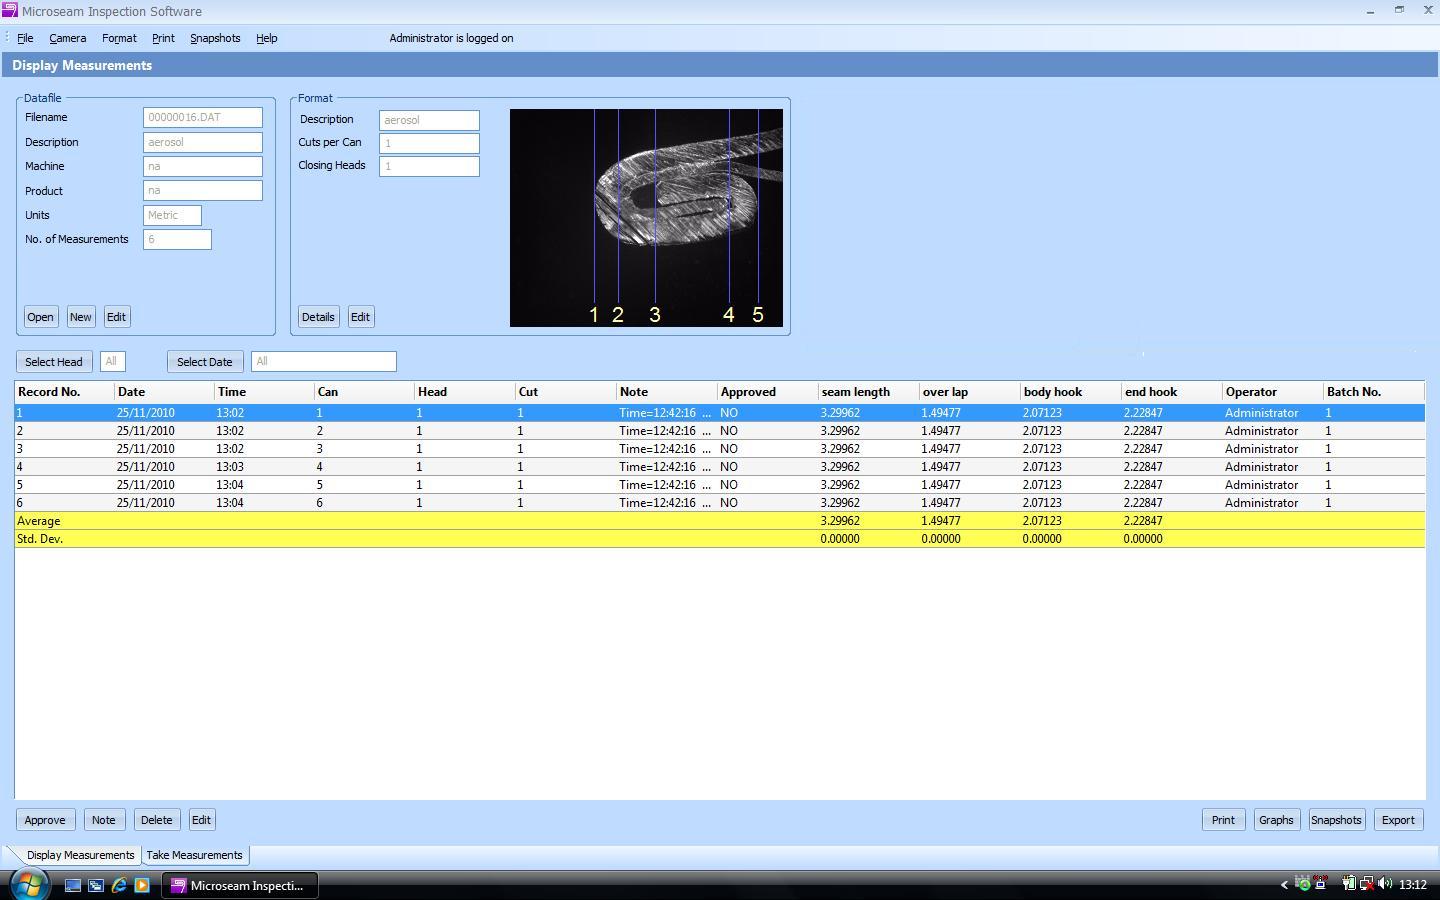
displayed in table form.
3
levels of password security.
Day
/ date raw data retrieval.
Can
batch coding.
On
screen seam image display with user defined measuring points for
operative familiarization.
5
micron accuracy.
X2
digital zoom
for precise placement of measuring lines.

Auto
sequencing of can and cut.
Automatic data calculation with fine
band tolerances.
Data
file copy and
editing facility.
Standard deviation and average at the end of
each measuring cycle.
Zoom facilty for improved measuring accuracy.
Measuring screen allows image dimensions to be displayed with text description or numeric values.
Microseam 5 Standard is supplied as viewing head,software,Deskey,calibration piece and printed user manual, with the customer supplying their own computer. (specification required below).
Desk top or Lap top.
CPU: Intel Pentium 4, 1.5 GHz or faster.
O/S: Windows XP,Vista, Windows 7, Windows 8 , 8.1 , 10 and Windows 11.
RAM: Minimum 256 MB more recommended.
Hard Drive: at least 150 MB of available disk space.
VGA card: 16 bit or above.
USB: 2 off available ports minimum (USB 2.0 recommended).
CD-ROM drive.
Altenatively
Microseam 5 standard may be supplied as a complete pre calibrated
factory unit with single or multiple data files set up to customers
specifications, all that is required is to connect leads as
indicated,turn on, click on to the MICROSEAM 5 icon and GO.
Unit
supplied with Calibration piece and user manual.
Upgrade to Professional version by purchase of a software licence key code.